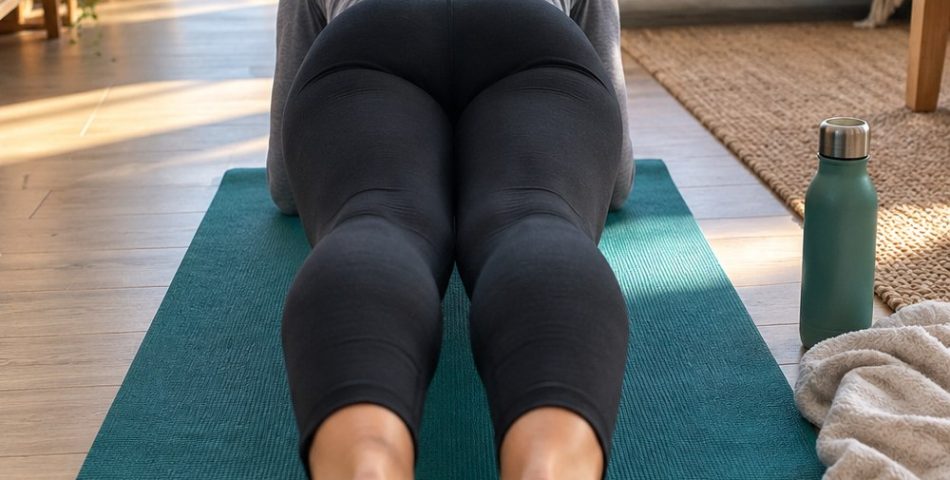
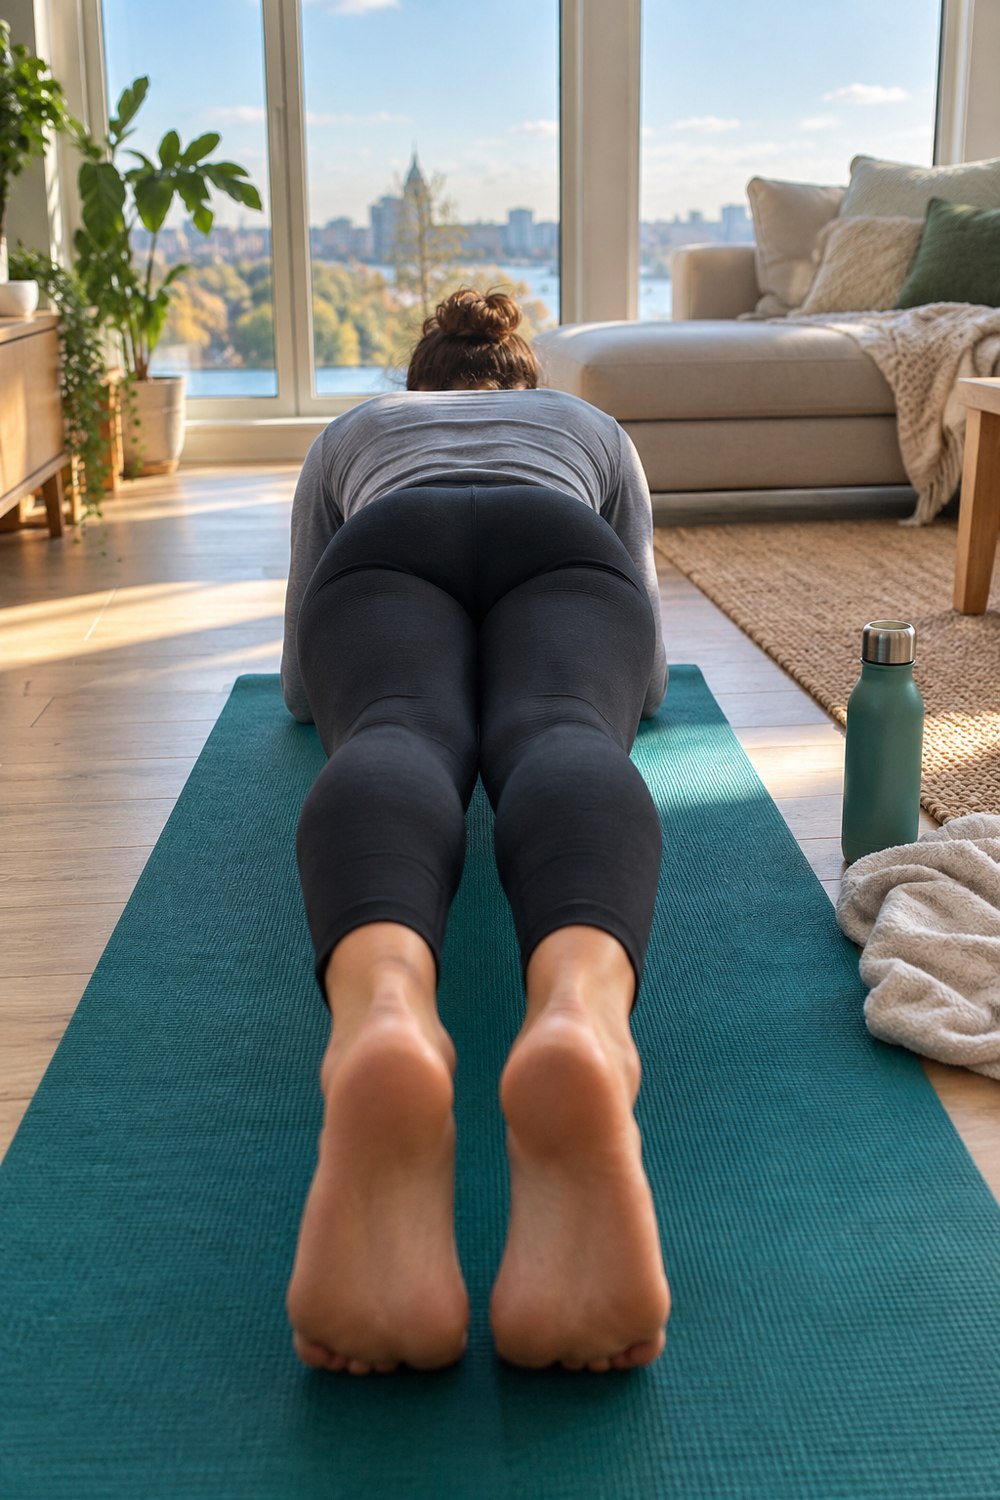
A phone is propped against a coffee mug on the living room floor, the stopwatch reading 0:47. Someone’s elbows are trembling on a folded bath towel, their breath held, hips drifting toward the carpet. Thirteen more seconds might as well be thirteen minutes.
That shaky minute is where most people quit, usually because their plan jumped from 20 seconds to 2 minutes in a week. A 30 day plank challenge works far better when the numbers fit where you’re starting, the rest days are real, and you know exactly when holding longer stops being the point.
Below you’ll find three complete schedules, a ten second form checklist, a day 1 and day 30 test, and a free printable calendar for the fridge.
What 30 days of planking can and can’t do
Here’s the cost before the benefit: a month of planks will not give you a flat stomach. You can’t lose fat from one spot by working the muscle underneath it. In a six week study on abdominal exercise and belly fat, adults who did ab exercises five days a week saw no meaningful drop in abdominal fat compared with people who didn’t. Body fat responds to overall activity, food, sleep and genetics over months, not one move.
What planking does do is real and useful. According to Mayo Clinic’s guide to core exercises, a stronger core supports balance, stability and posture, and weak core muscles can leave you more prone to low back pain. In 30 days you can realistically expect a longer hold, cleaner form, and push-ups and carries that feel steadier. Most of that early jump is your nervous system learning to switch the right muscles on, which is why short, frequent practice works.
The thing nobody tells you: you may stand a little taller by week three simply because you’ve learned to brace. Judge the month by the stopwatch, not the mirror.
Perfect forearm plank form, step by step
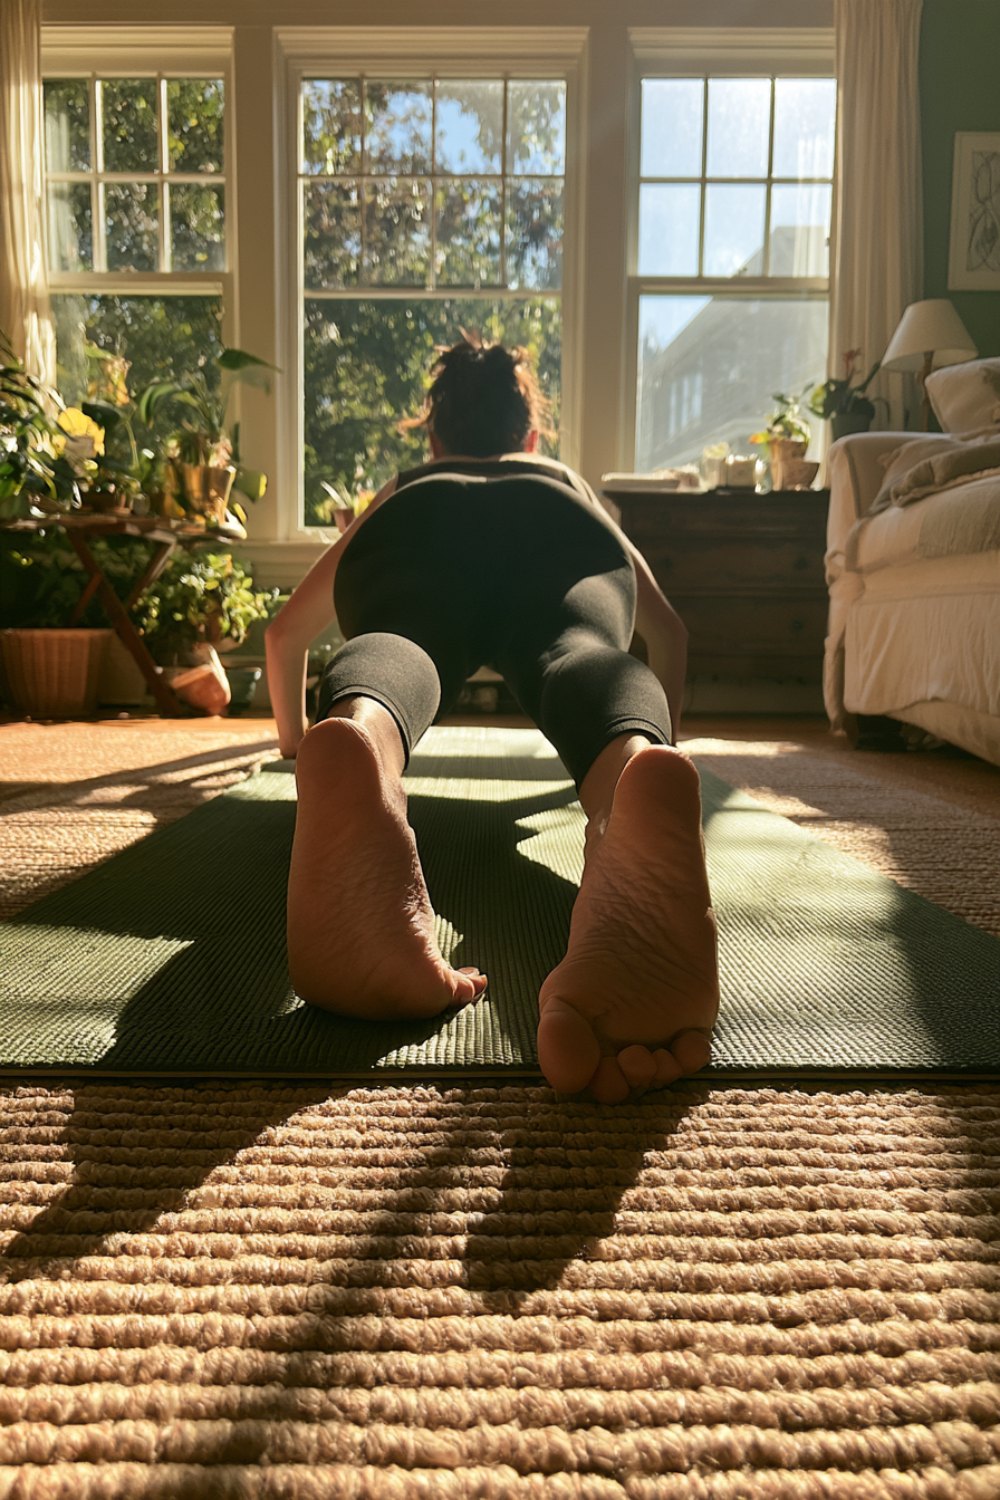
A sagging plank is practice for the wrong thing. Set up the same way every time, using the cues from the American Council on Exercise front plank guide plus a few that make them easier to feel.
- Elbows under shoulders. Forearms parallel, fists loose or palms flat.
- Push the floor away. Spread your shoulder blades slightly. No shrugging toward your ears.
- Straight line, head to heels. Hips level with your shoulders. A broom handle laid along your back should touch your head, upper back and tailbone.
- Tuck the tailbone a touch. Think “zip up your jeans” to flatten the low back arch.
- Squeeze glutes and quads. Locked legs take load off your lower back. Feet wider is easier, together is harder.
- Eyes on the floor. A hand’s width in front of your fingers, neck long.
- Breathe. Short breaths into your sides. If you can’t say a short sentence, the hold is too long.
Your stop signal is form, not the clock. When your hips drop or your low back aches, the set is over, even at 0:47.
Test yourself on day 1 and day 30
A real before and after beats any photo. Do this test on day 1 to pick your schedule, repeat it exactly on day 30, and write both numbers in a printable workout tracker or on the calendar below.
- Warm up for 3 minutes: march in place, 10 cat cows, 10 slow bodyweight squats.
- Film from the side and hold a forearm plank until your form breaks (hips sag or pike, or any back discomfort). Record the seconds at the break.
- Rest 2 minutes, then hold a side plank on each side the same way.
- Match the surface and time of day on day 30.
Then pick your plan: under 30 seconds, start the beginner schedule. Between 30 and 75 seconds, go intermediate. Over 75 seconds with clean form, go advanced. If you couldn’t reach 15 seconds, start the beginner plan on your knees (more on that below).
Your 30 day plank challenge schedules
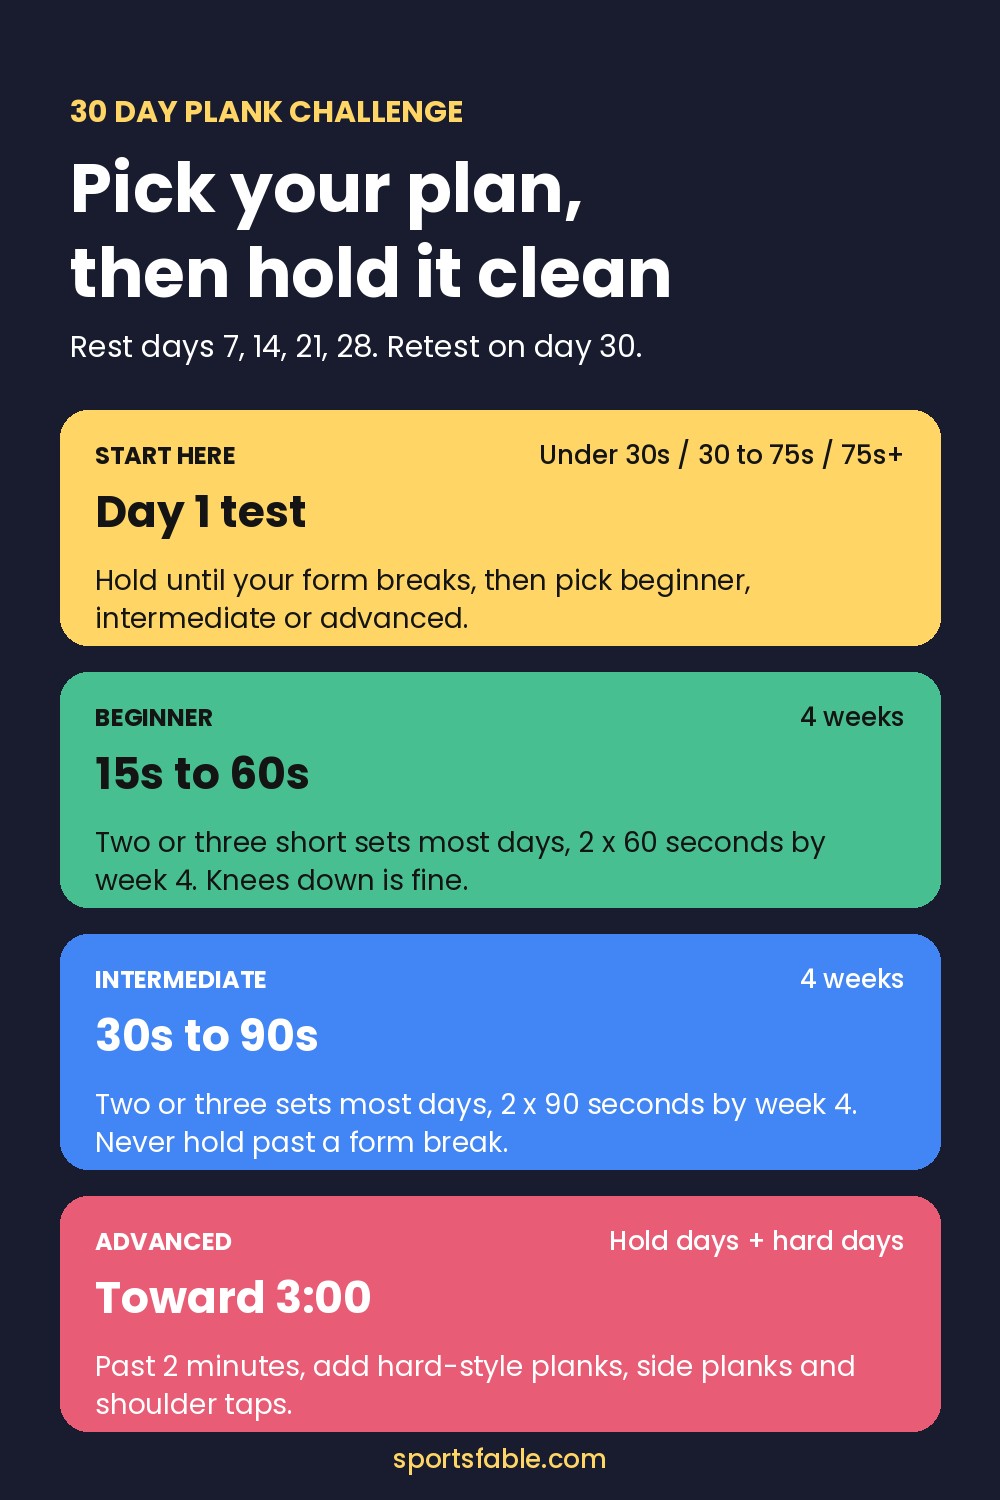
Every 30 day plank challenge day below is a few short holds with 45 to 60 seconds of rest between, because clean sets build more than one ugly marathon hold. “3 x 20” means three 20 second holds. Days 7, 14, 21 and 28 are rest, and day 29 is easy so you test fresh. If you couldn’t finish a day cleanly, repeat it.
Beginner schedule (start at 15 to 20 seconds)
- Week 1: day 1 test plus 2 x 15, day 2: 3 x 15, day 3: 3 x 20, day 4: 3 x 20, day 5: 2 x 25, day 6: 3 x 25, day 7 rest.
- Week 2: 3 x 25, 3 x 30, 2 x 35, 3 x 30, 3 x 35, 2 x 40, day 14 rest.
- Week 3: 3 x 35, 3 x 40, 2 x 45, 3 x 40, 3 x 45, 2 x 50, day 21 rest.
- Week 4: 3 x 45, 2 x 55, 3 x 50, 2 x 60, 3 x 50, 2 x 60, day 28 rest, day 29: 2 x 30 easy, day 30 retest.
Intermediate schedule (start at 30 to 45 seconds)
- Week 1: day 1 test plus 2 x 30, then 3 x 30, 3 x 40, 3 x 40, 2 x 50, 3 x 45, day 7 rest.
- Week 2: 3 x 45, 3 x 50, 2 x 60, 3 x 50, 3 x 55, 2 x 70, day 14 rest.
- Week 3: 3 x 55, 3 x 60, 2 x 75, 3 x 60, 3 x 65, 2 x 80, day 21 rest.
- Week 4: 3 x 65, 2 x 85, 3 x 70, 2 x 90, 3 x 70, 2 x 90, day 28 rest, day 29: 2 x 45 easy, day 30 retest.
Advanced schedule (working toward 3 minutes)
The advanced plan alternates long hold days with hard variation days.
- Week 1: day 1 test, 2 x 90 sec, hard-style plank 5 x 10 plus side plank 2 x 40 per side, 2 x 100, shoulder taps 3 x 20 plus side plank 2 x 45, 1 x 120 plus 1 x 60, day 7 rest.
- Week 2: 2 x 110, hard-style 6 x 10 plus side 2 x 50, 1 x 135 plus 1 x 60, taps 3 x 24 plus leg lift plank 3 x 30, 2 x 120, 1 x 150, day 14 rest.
- Week 3: hard-style 8 x 10 plus side 2 x 60, 1 x 150 plus 1 x 60, taps 3 x 30 plus leg lift 3 x 40, 2 x 135, hard-style 8 x 10 plus side 2 x 60, 1 x 165, day 21 rest.
- Week 4: 2 x 140, hard-style 10 x 10 plus side 2 x 60, 1 x 170, taps 3 x 30 plus leg lift 3 x 45, 2 x 90 easy, hard-style 6 x 10, day 28 rest, day 29: 2 x 60 easy, day 30: the 3 minute test.
The free printable puts the beginner and intermediate numbers in every calendar box with a checkbox, and page 2 has the advanced plan, the form checklist and your day 1 and day 30 test log.
Free printable
30 Day Plank Challenge Calendar
A free 2 page printable: a 30 day calendar with beginner and intermediate hold times and checkboxes, plus the advanced plan, a form checklist and a day 1 and day 30 test log.
Pairing it with a full workout plan
Planks are one move, not a program. If you’re doing our 30 day workout challenge, the rest days already line up (7, 14, 21 and 28). Do your plank sets at the end of each session and swap them in for the plank inside Workout A so you’re not doubling up.
Why holding past 2 minutes isn’t the goal
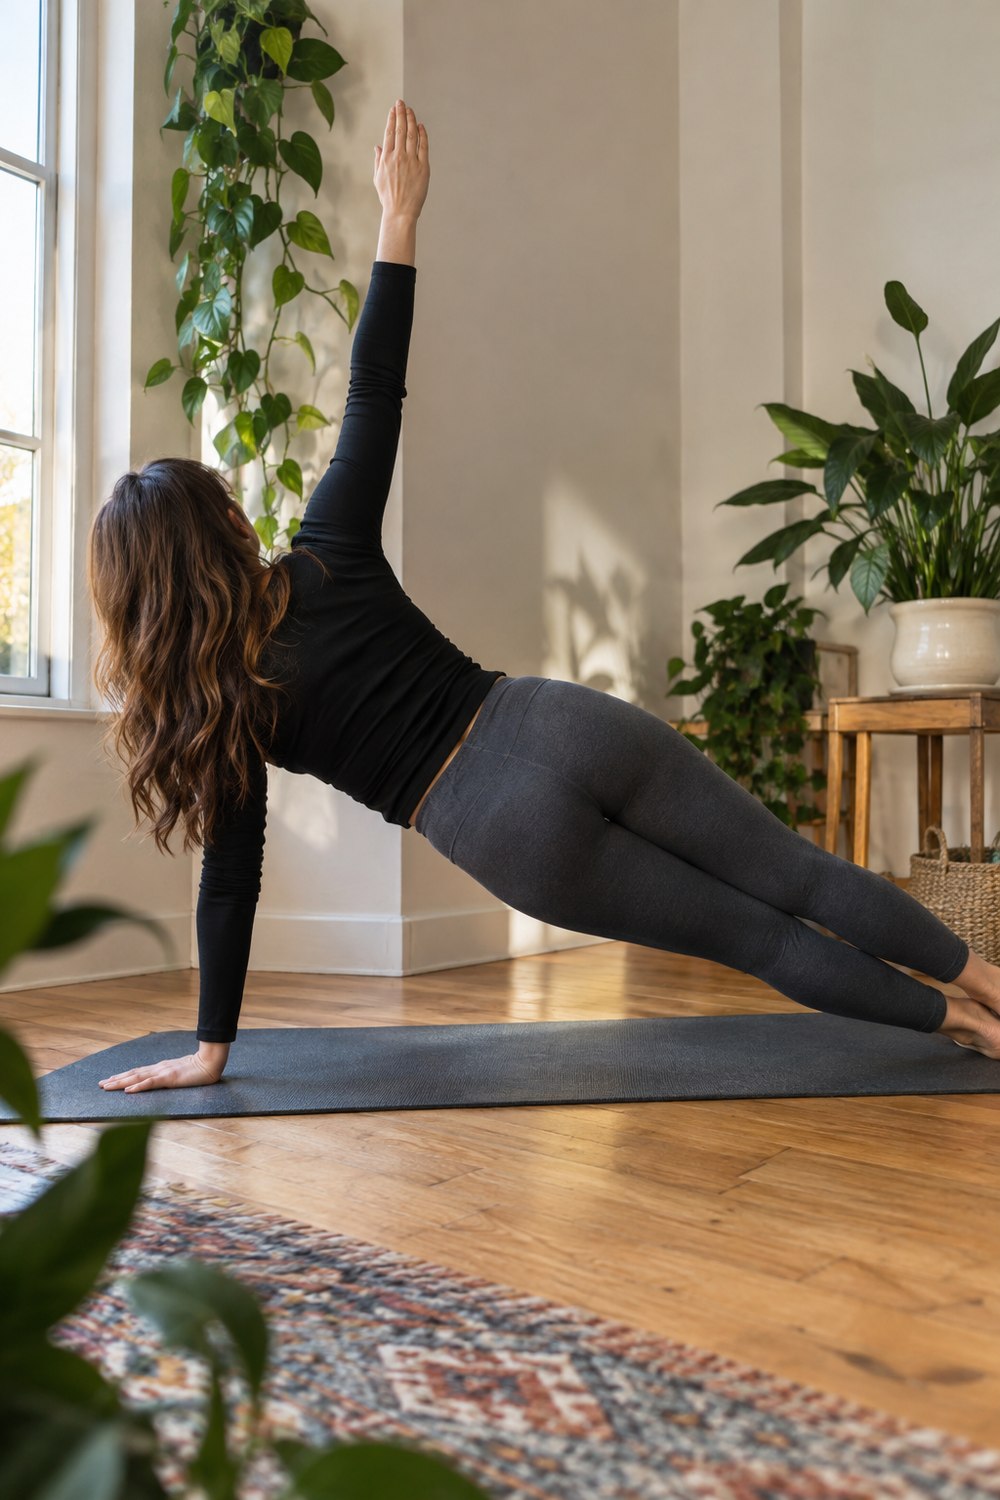
Harvard Health notes that 10 to 30 second holds are plenty for most people, that several short sets beat one long one, and that 2 minutes is often considered the maximum, with not much extra benefit after that. Past that, you’re mostly training patience while your form quietly slips.
So why does the advanced plan aim for 3 minutes? It’s a popular benchmark and a satisfying finish line, not a better core builder than a harder 30 seconds. The decision rule: once you can hold 2 minutes with clean form, stop adding time and add difficulty instead. A 10 second hard-style plank done at full tension, or 30 seconds of slow shoulder taps, will challenge you more than another minute of the same hold.
Progressions and regressions
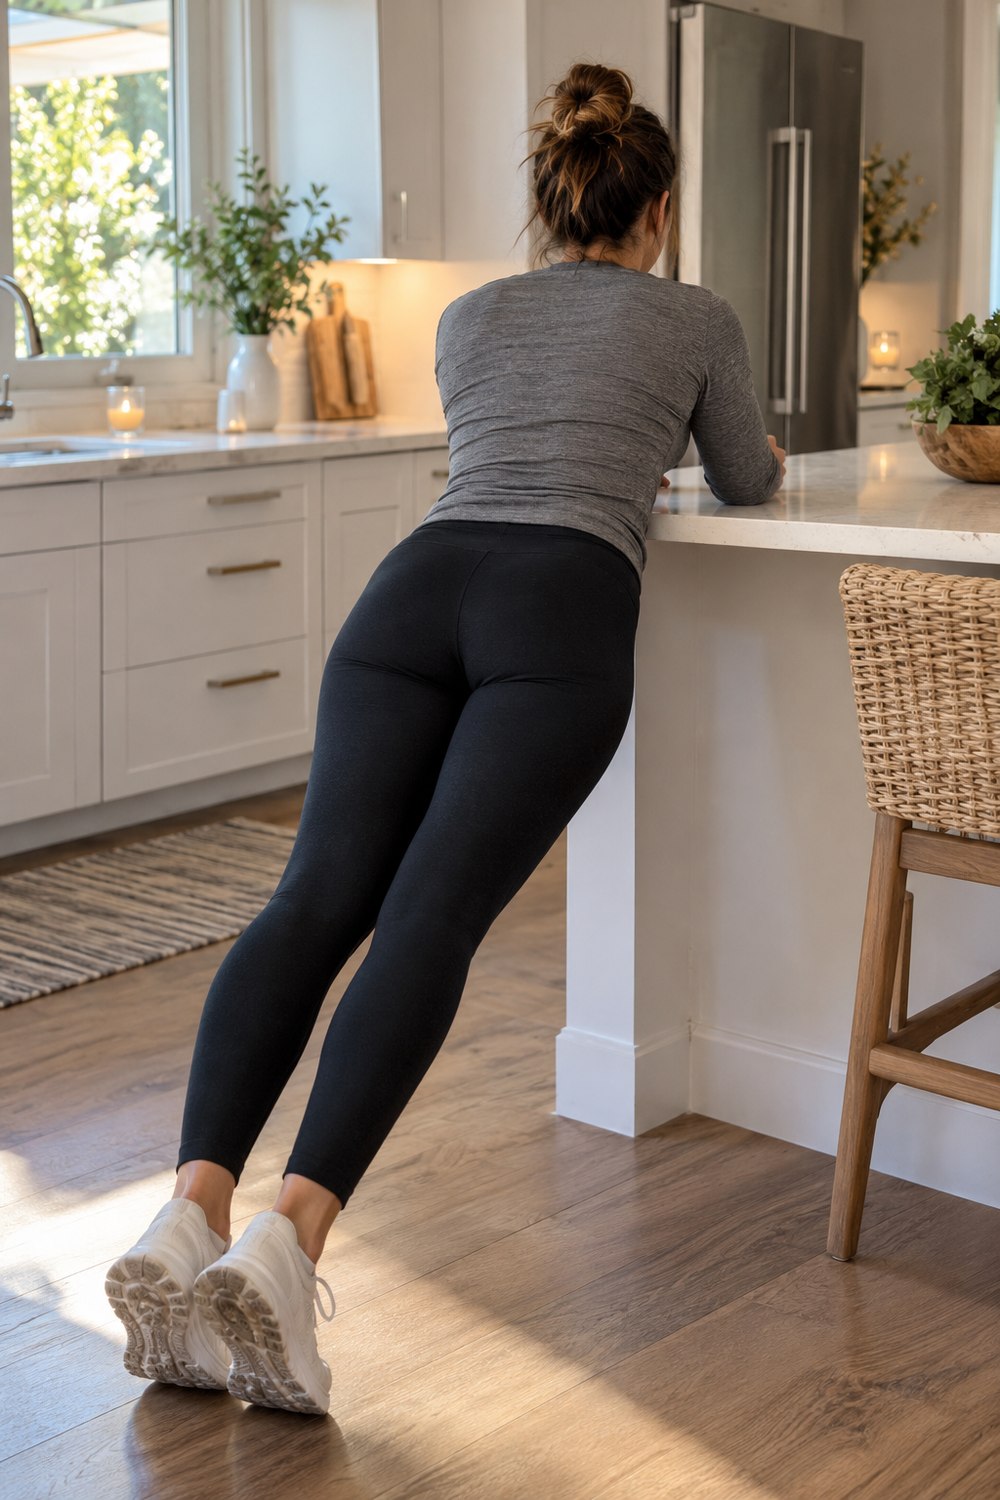
Use these to adjust any day of the plan. Regress if your form breaks before 15 seconds on two sets in a row. Progress once you can finish 60 seconds clean twice.
- Incline plank (easiest): forearms or hands on a kitchen counter, body at roughly 45 degrees.
- Knee plank: forearms down, knees on the floor, a straight line from knees to head.
- Side plank: elbow under shoulder, feet stacked or staggered, hips lifted so your body is one line. Drop the bottom knee to make it easier.
- Plank shoulder taps: high plank on your hands, feet wider than hips, slowly tap the opposite shoulder. Aim for zero hip rocking.
- Leg lift plank: forearm plank, lift one foot 2 to 3 inches, hold 2 seconds, switch, without your hips twisting.
- Hard-style (RKC) plank: elbows slightly ahead of your shoulders, hands clasped, then squeeze everything at once: glutes, quads, fists, and pull your elbows toward your toes without moving them. Ten seconds is a full set.
Common mistakes and when to stop
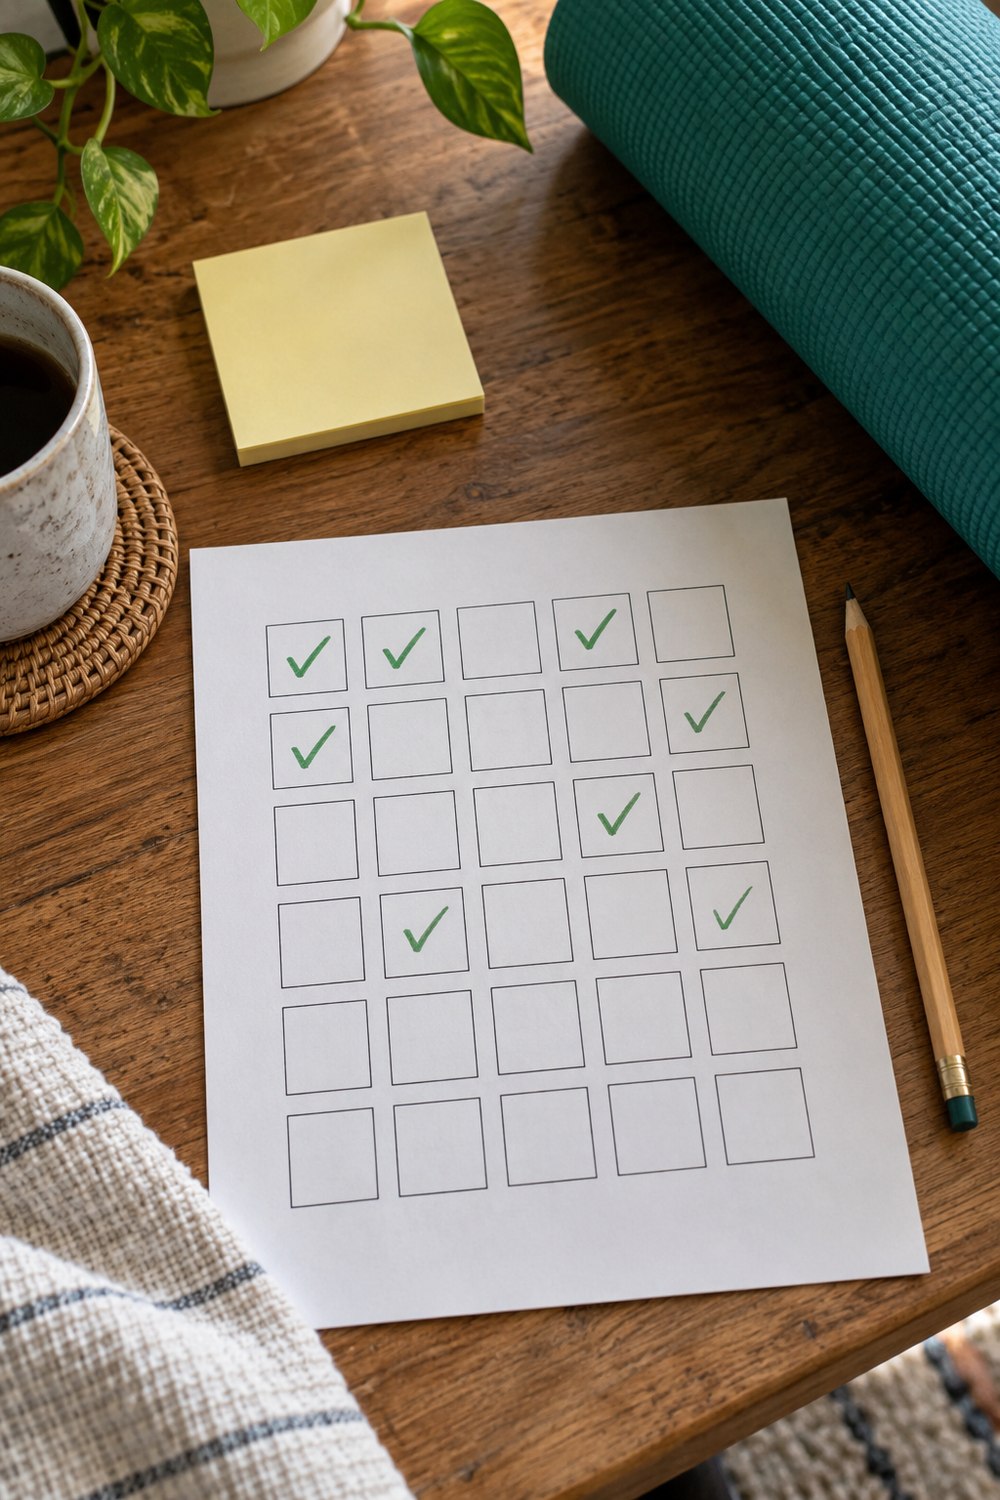
Most plank problems are the same six mistakes: sagging hips, hips piked high to make it easier, holding your breath, craning your neck to watch the timer, testing your max every day, and skipping rest days because you feel fine. Daily max efforts make you sloppy, and sloppy planks are where back aches start.
The back pain stop rule: mild ab burn and shaking are normal. Pain in your lower back is not. If you feel it, stop the set, move to an incline plank for the rest of the session, and recheck your tailbone tuck. If the pain is sharp, lasts into the next day, or travels down a leg, stop the challenge and talk to your doctor or a physical therapist.
Pregnant or postpartum? Talk to your doctor or midwife before starting any plank challenge. If you notice a ridge or dome along the middle of your belly during a hold, stop and ask about it. A pelvic floor physical therapist can tell you which core work fits.
Keep building your core routine
Add a short daily stretching routine for tight hips, find comfy pilates outfits that stay put on the mat, try the 7 day home workout plan when the month ends, or step up to a beginner gym workout plan if you want weights next.
Questions people ask
What results can I expect from a 30 day plank challenge?
Expect a longer, steadier hold and better control in other exercises. Don’t expect fat loss or a visible six pack from a 30 day plank challenge alone.
Will planking give me a flat stomach?
Not on its own. Research shows ab exercises don’t reduce belly fat in that spot. Planks strengthen the muscles underneath, while overall activity, food and sleep over months decide body fat.
Is 3 minutes a good plank time?
It’s an impressive benchmark, but it isn’t necessary. Once you can hold 2 minutes with good form, harder variations will do more for your strength than extra time.
Is the plan different for women and men?
No. Pick a schedule by your day 1 test, not your gender. If you’re pregnant or postpartum, check with your provider first.
Should I plank every day?
Short, easy sets most days are fine, but keep the weekly rest days. They keep you from grinding through sloppy holds.
Is there a printable PDF of the schedule?
Yes. The two page PDF has a 30 day calendar with beginner and intermediate times in each box, plus the advanced plan, a form checklist and a test log.
Images in this article are AI-generated illustrations and original graphics created by SportsFable. They show training scenes, not real people, teams or events. The printable is an original SportsFable resource.
Related Post