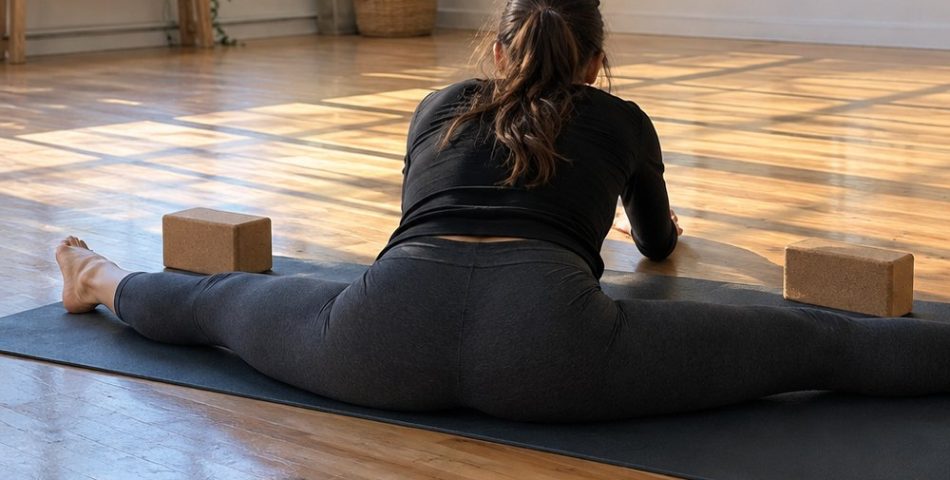
Two foam yoga blocks sit stacked on the floor, and someone is balanced on top of them in a lopsided front split, hips hovering a good foot off the ground. It doesn’t look like much. A few weeks later the stack is one block on its tall side. A few weeks after that, it’s one block lying flat.
That slow unstacking is what real progress toward the splits looks like. Not a 7 day miracle video, not a partner shoving your legs apart, just a lot of quiet sessions where the floor gets a couple of inches closer than it was last month.
This splits stretching routine gives you the warm-up, the exact holds and order for front splits and middle splits, a weekly schedule and a simple way to measure progress in inches. Fair warning first: it takes longer than you’d like, and for some people the full middle split may never be on the table. Here’s why, and what to do about it.
Front splits vs middle splits, and how long each takes
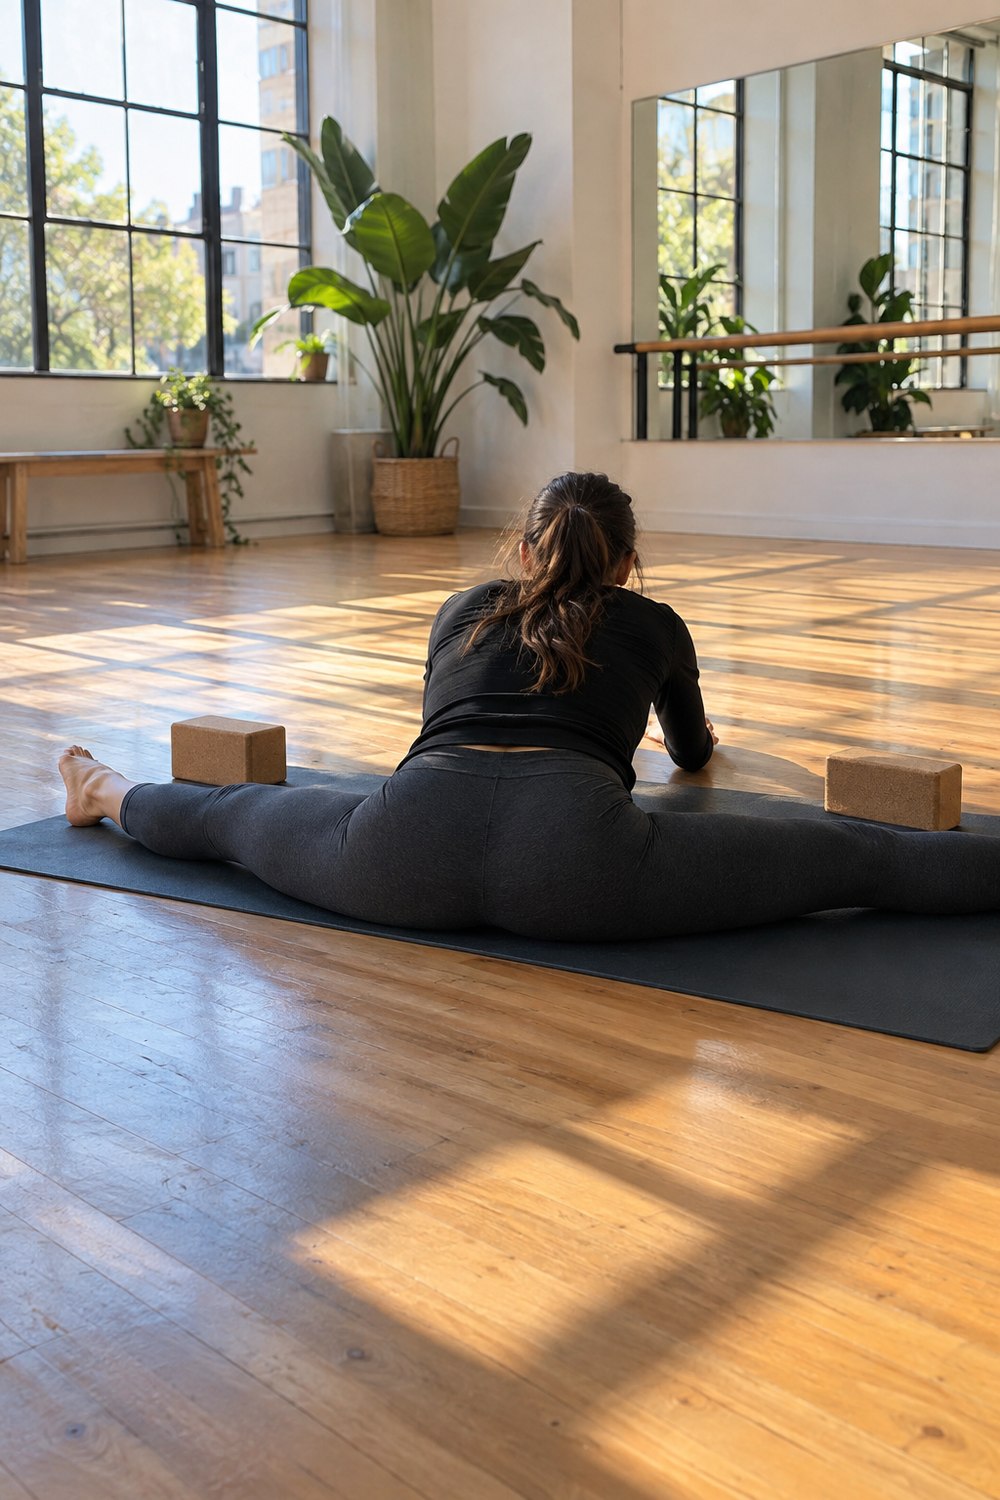
A front split is one leg forward, one leg back, hips facing the front leg. It mostly asks for long hamstrings on the front leg and long hip flexors and quads on the back leg. It’s the one you see in floor routines and dance leaps, and it’s usually the more reachable of the two.
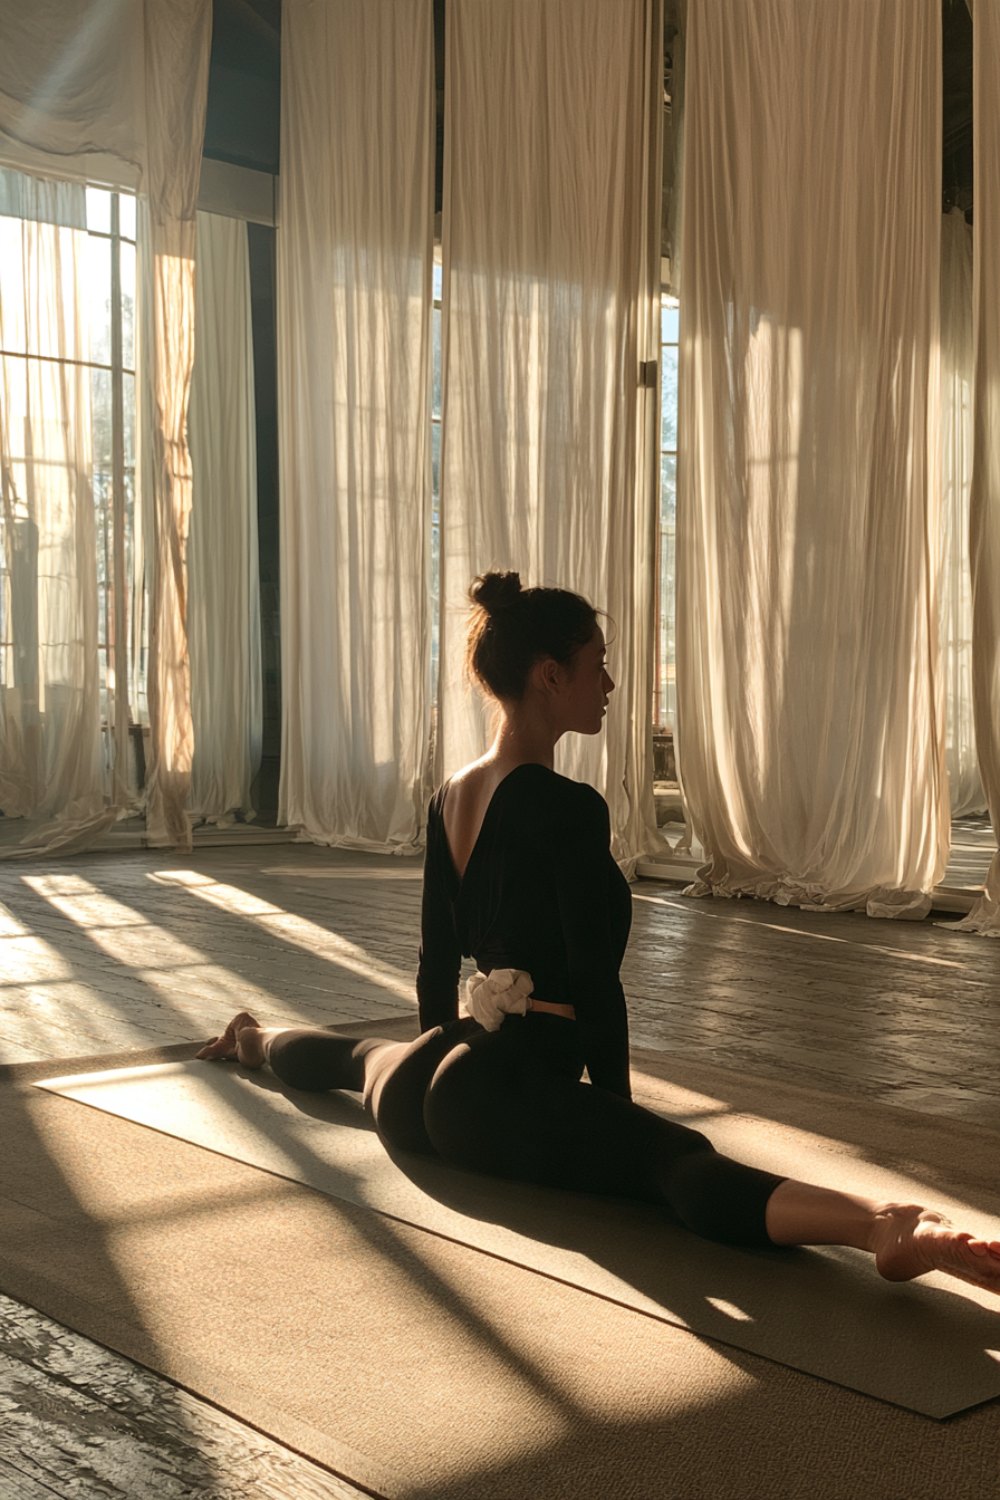
A middle split (also called a side or straddle split) is both legs out to the sides. It mostly asks for long inner thigh muscles, but it also depends on the shape of your hip sockets and the angle of your thigh bones. For some people, bone meets bone before the muscles run out of length. If that’s you, no amount of stretching will flatten your straddle, and a strong, comfortable wide straddle is the better goal.
Timelines vary more than most videos admit. Someone who used to dance might get a front split back in 4 to 8 weeks of steady work. A stiff adult starting a foot or more off the floor should think in months: 3 to 12 is a realistic range for front splits, and middle splits often take longer. Nobody can promise you a date, but you should see a measurable change of an inch or two within the first month.
Warm up first (5 minutes)
Stretching cold is the fastest way to feel stiff and stalled. Raise your body temperature before any long holds, or do the routine right after a workout, like a session from our 7 day home workout plan.
- 2 minutes of brisk marching, jumping jacks or easy jogging in place
- 10 leg swings front to back per leg, holding a wall
- 10 leg swings side to side per leg
- 8 slow bodyweight squats and 5 walking lunges per leg
- 30 seconds of hip circles in each direction
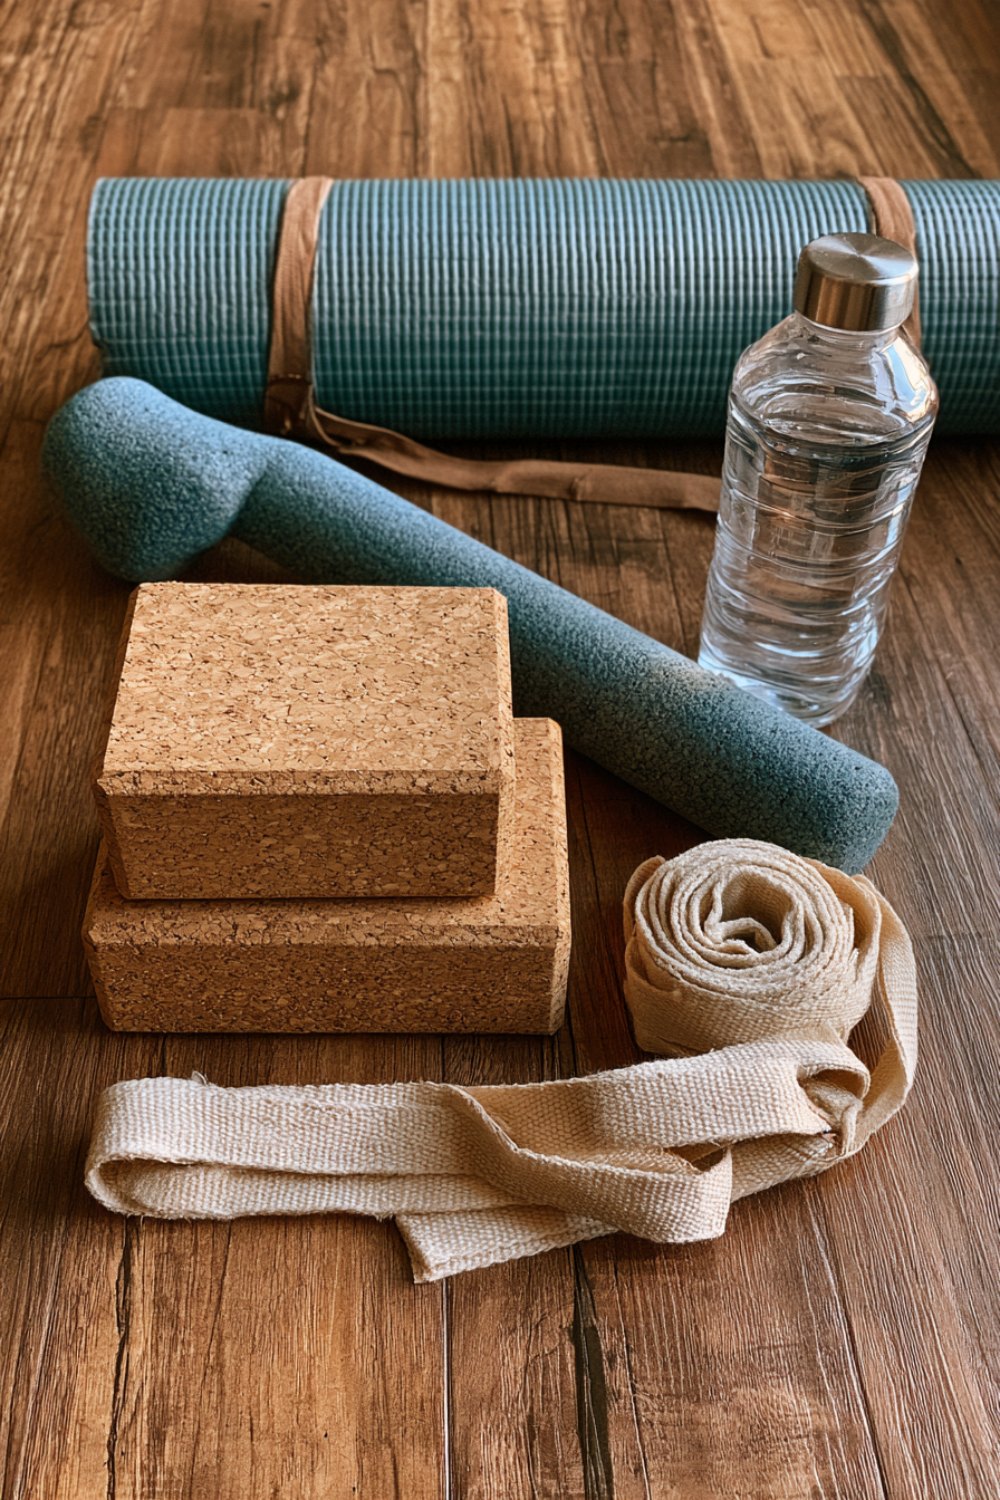
Gear is minimal: a mat, two yoga blocks (about $10 to $25 a pair, or a stack of hardcover books for now) and socks or a small towel under your feet so they slide on a hard floor.
The front splits stretching routine (15 to 20 minutes)
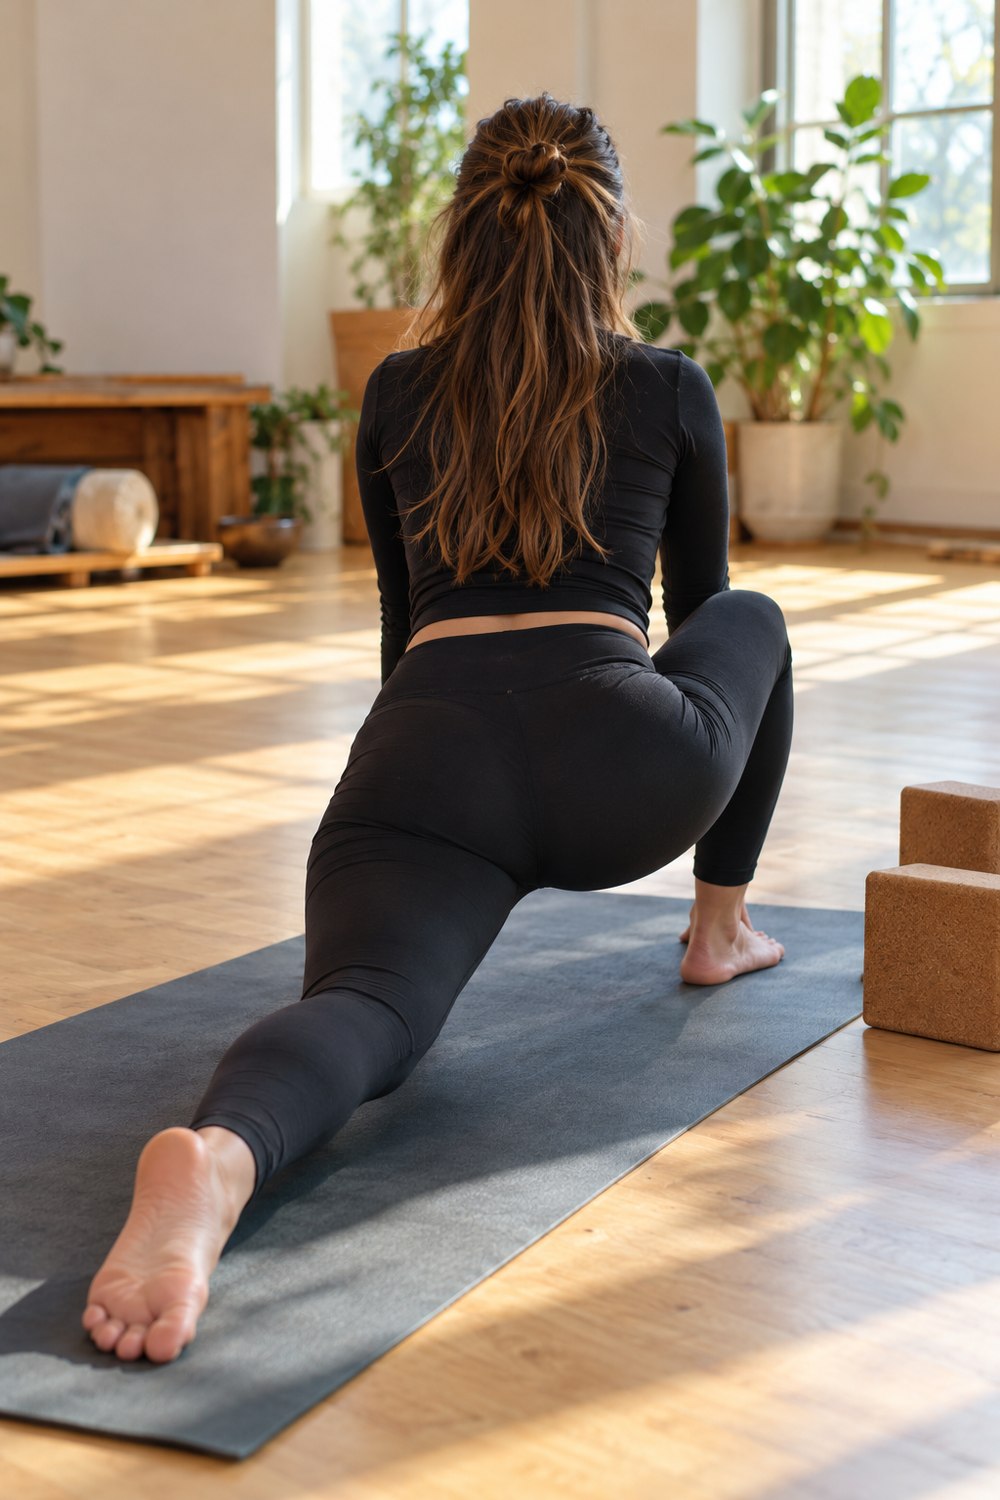
Do every stretch on the right leg, then the left. Breathe slowly and ease a little deeper on each exhale. You want strong tension, not pain. Rate the stretch on a 1 to 10 scale and stay around a 6 or 7.
- Low lunge with back knee down (pad it with a folded towel): 30 seconds per side, 2 rounds. Squeeze the back glute to open the hip flexor.
- Half split (sit back over the back knee, front leg straight, toes up): 30 seconds per side, 2 rounds. Keep your back flat and fold from the hips.
- Couch stretch (back shin up against a wall or sofa): 30 seconds per side. Keep your torso leaning forward if it’s intense.
- Lizard lunge (both hands inside the front foot, on blocks if needed): 30 seconds per side.
- Active hamstring lifts: lie on your back, lift one straight leg as high as you can with no hands, lower over 3 seconds. 10 per side.
- Supported front split on blocks: slide into the split with blocks under your hips or front thigh. Hold 30 to 45 seconds per side, 2 rounds. On your last round, note the block height.
The middle splits routine (15 to 20 minutes)
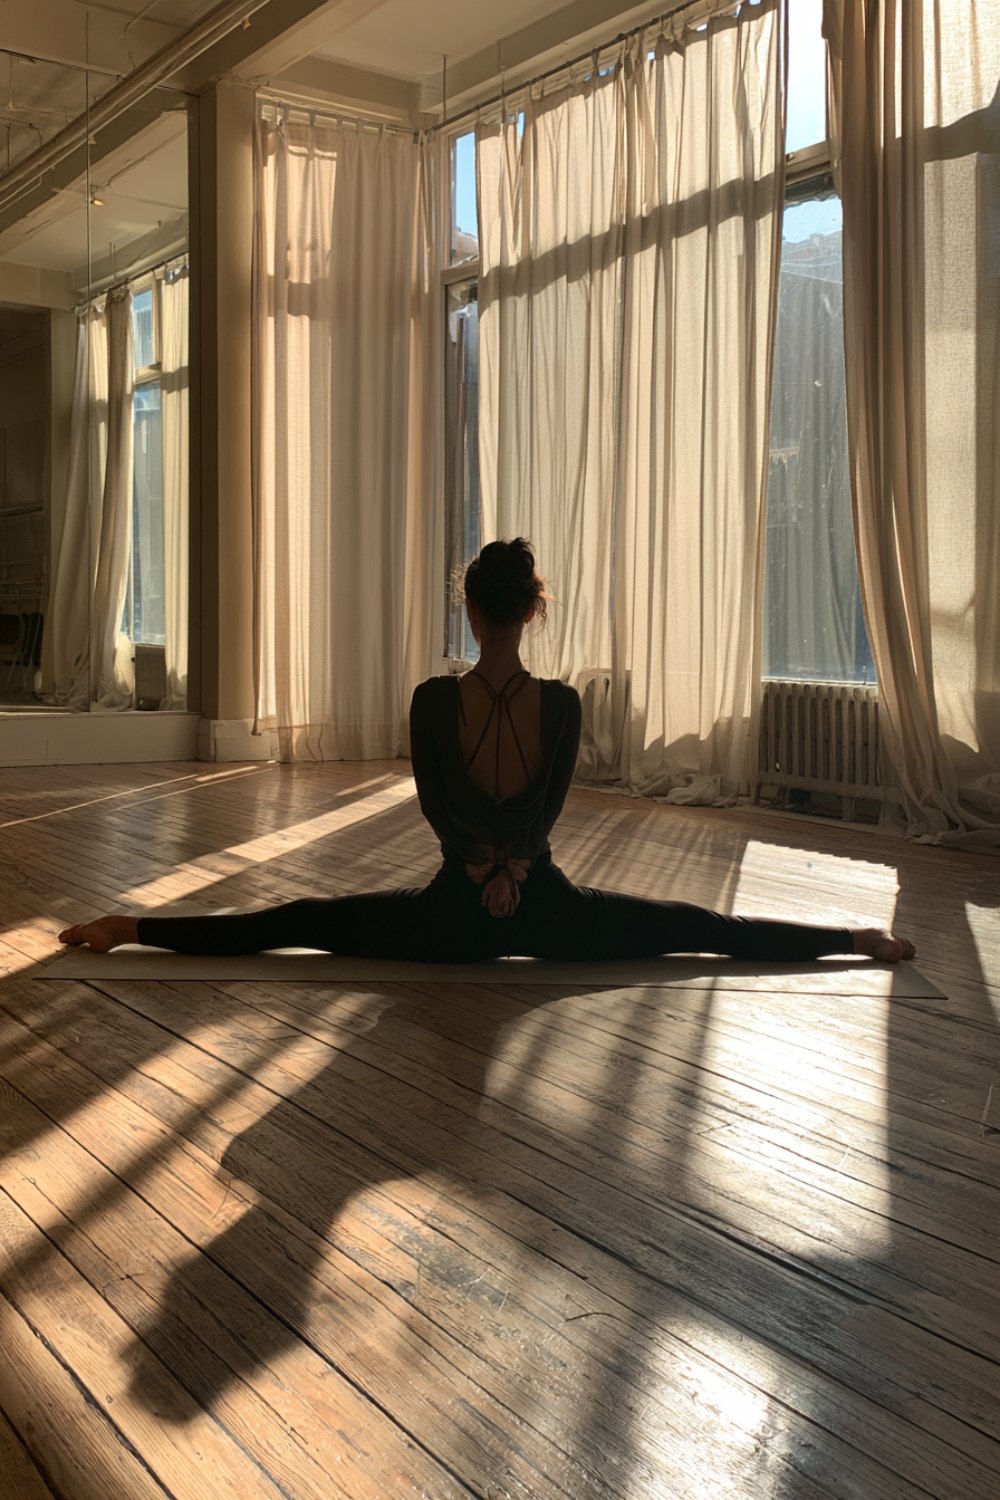
- Butterfly: sit with soles together, fold forward with a long back. 30 seconds, 2 rounds.
- Side lunge hold (one knee bent, the other leg straight to the side, toes up): 30 seconds per side.
- Frog stretch on hands or forearms, knees wide, ankles in line with knees: 30 to 45 seconds, 2 rounds. Rock gently forward and back if you need to, but don’t bounce.
- Seated straddle fold (pancake), sitting on a folded towel if your lower back rounds: 30 seconds, 2 rounds.
- Horse stance hold (wide squat, knees pushed out over toes): 20 to 30 seconds, 3 rounds. This is your strength work for the inner thighs and hips.
- Supported middle split: face a wall or chair for balance, slide the feet apart with hands or forearms on blocks. Hold 30 to 45 seconds, 2 rounds.
Want the whole thing on one page? Grab the free printable routine card below. Page two is a 12-week log for recording your block height and inches from the floor.
Free printable
Splits Routine Card and 12-Week Progress Log
A 2 page printable: a front and middle splits routine card with every hold, plus a 12-week log for block heights and inches from the floor.
How often to stretch, and why strength matters
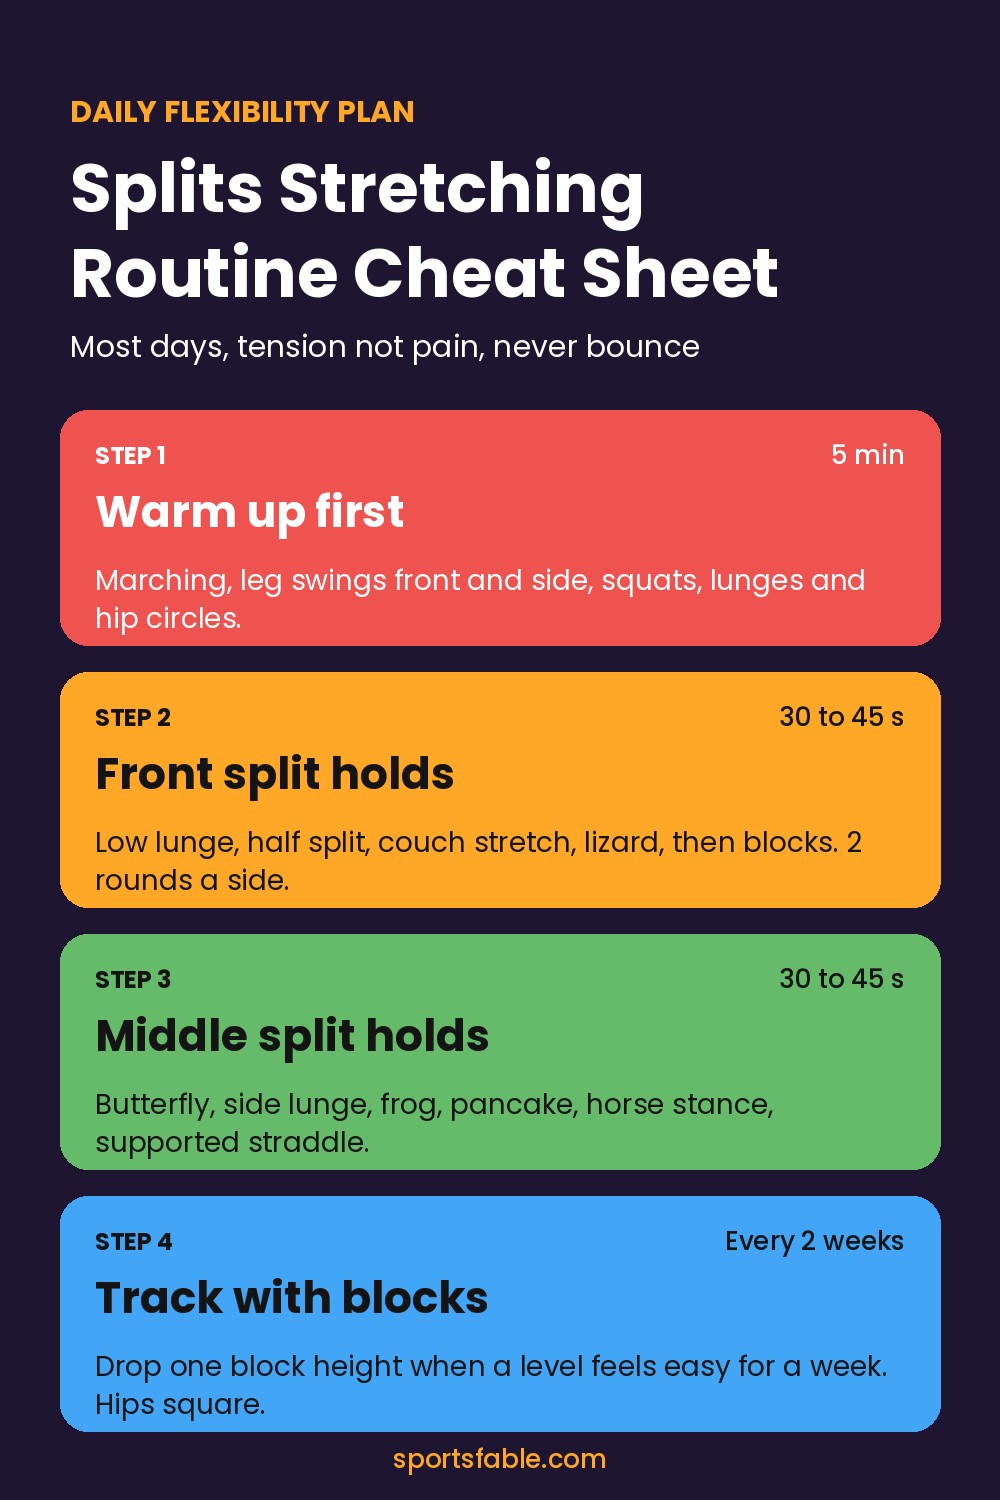
Most days, but never into pain. Five or six short sessions a week tend to beat one long weekend session, because flexibility responds to regular exposure. A simple week that keeps each session around 20 to 25 minutes:
- Monday, Wednesday, Friday: warm-up plus the front splits routine
- Tuesday, Thursday, Saturday: warm-up plus the middle splits routine
- Sunday: off, or a gentle full body stretching routine
If your hamstrings or groin feel sore or tender the next morning, you pushed too hard. Take a light day, cut the depth by a block and keep the habit going.
Passive flexibility is how far you can go when gravity, the floor or your hands do the work. Active flexibility is how far you can move a limb with your own muscles, and the gap between them is why someone can sit in a split but can’t kick anywhere near that height. A good splits stretching routine trains both, which is why the active leg lifts and horse stance holds are in there. For gymnastics, dance and martial arts, active range is what shows up in your skills.
What the guidelines say, and mistakes that stall progress
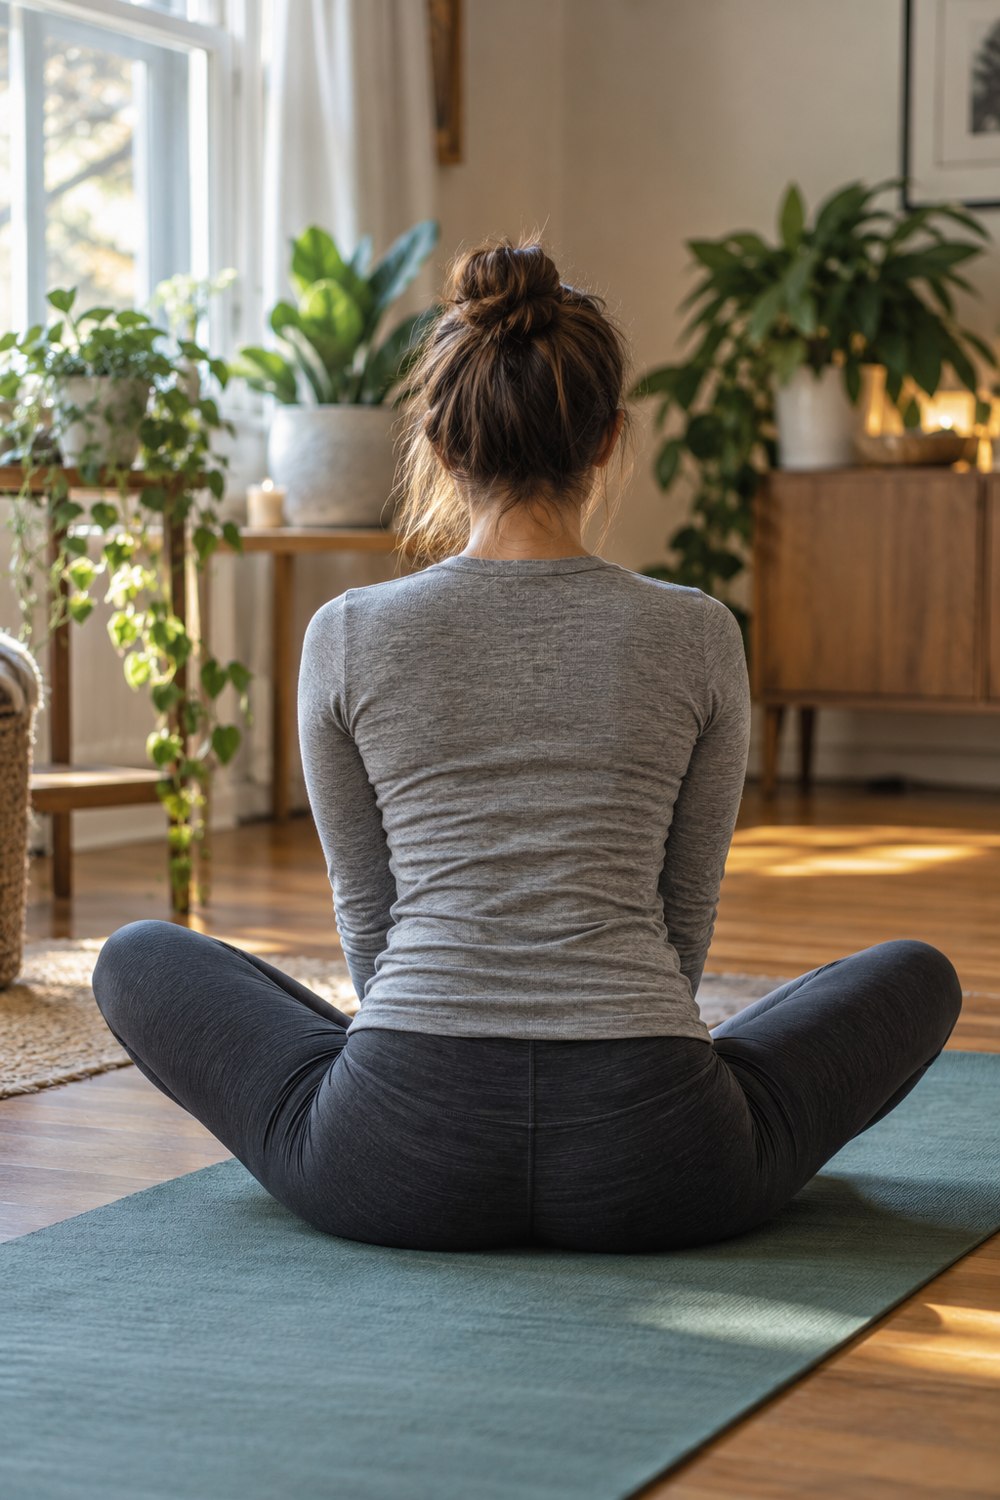
The holds in this plan sit inside mainstream guidance. The American College of Sports Medicine’s stretching and flexibility guidelines update recommends holding static stretches for 10 to 30 seconds for most adults, stretching at least two to three days a week, and notes that daily stretching is most effective. Older adults may benefit from 30 to 60 second holds.
Mayo Clinic’s guide to stretching and flexibility covers the rest: don’t treat stretching as your warm-up, stretch smoothly without bouncing, hold about 30 seconds (around 60 for problem areas), stretch both sides evenly, and expect tension, not pain. If you have a past hip, hamstring or groin injury, talk to your doctor or a physical therapist before working toward full splits.
Bouncing at the bottom
Bouncing feels like it helps, but Mayo Clinic notes it can injure the muscle and add to tightness. Sink in slowly, hold, breathe.
Letting the hips twist open
In a front split, the back hip loves to rotate out so you get lower faster. It looks deeper but skips the hip flexor stretch you actually need. Keep both hip bones pointing forward, even if that means sitting on one more block.
Only stretching your better side
Most people have one side that’s an inch or two lower. Always start with the tighter side, and log both sides separately so you can see if the gap closes.
Chasing depth every single day
Some days you’ll be tighter than yesterday. That’s normal. Match your usual depth and leave.
Track it with yoga blocks and a tape measure
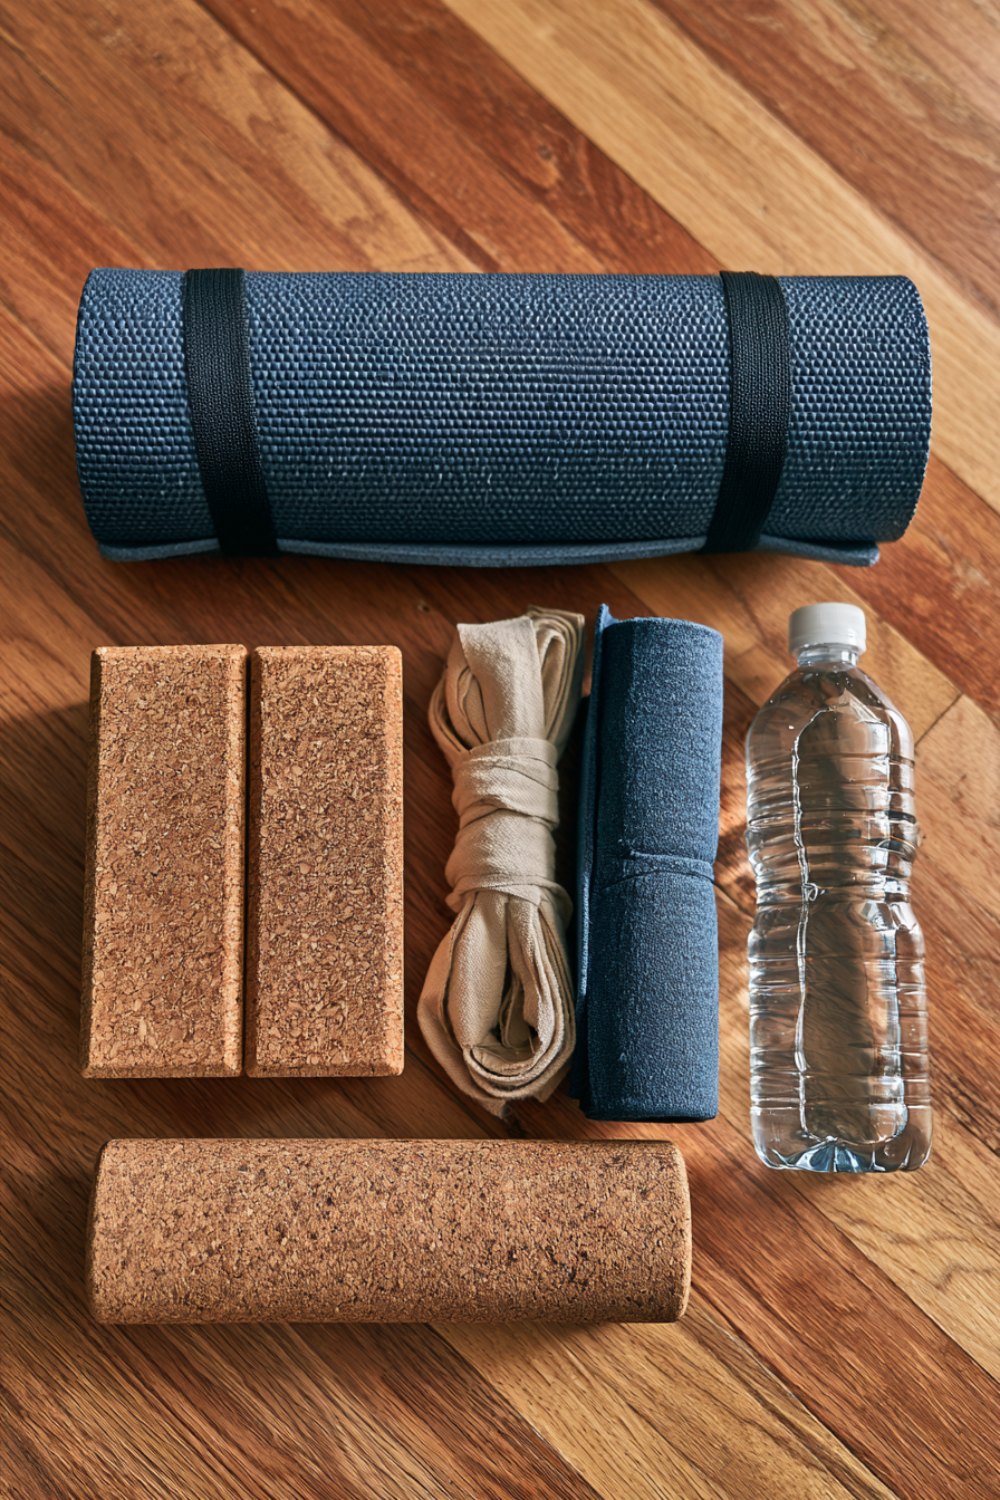
A standard block is about 4 by 6 by 9 inches, so a single block gives you three heights: 9 inches on its tall side, 6 on its middle side and 4 lying flat. Stack one flat block on top of a tall one and you get about 13 inches. That’s your ladder: 13, 9, 6, 4, then a folded towel (about 1 to 2 inches), then the floor.
Once a week, at the end of a session, find the lowest height where you can hold your supported split for 30 seconds with hips square and no pain. Write it down for the right leg forward, the left leg forward and the middle split. If you’re between blocks, measure the gap from the floor to the base of your hips with a tape measure instead. When a height feels easy for a full week, drop to the next step.
Snap a side-on photo every two weeks from the same spot and angle. Progress is too slow to see day to day, but photos a month apart make it obvious.
Splits checklist
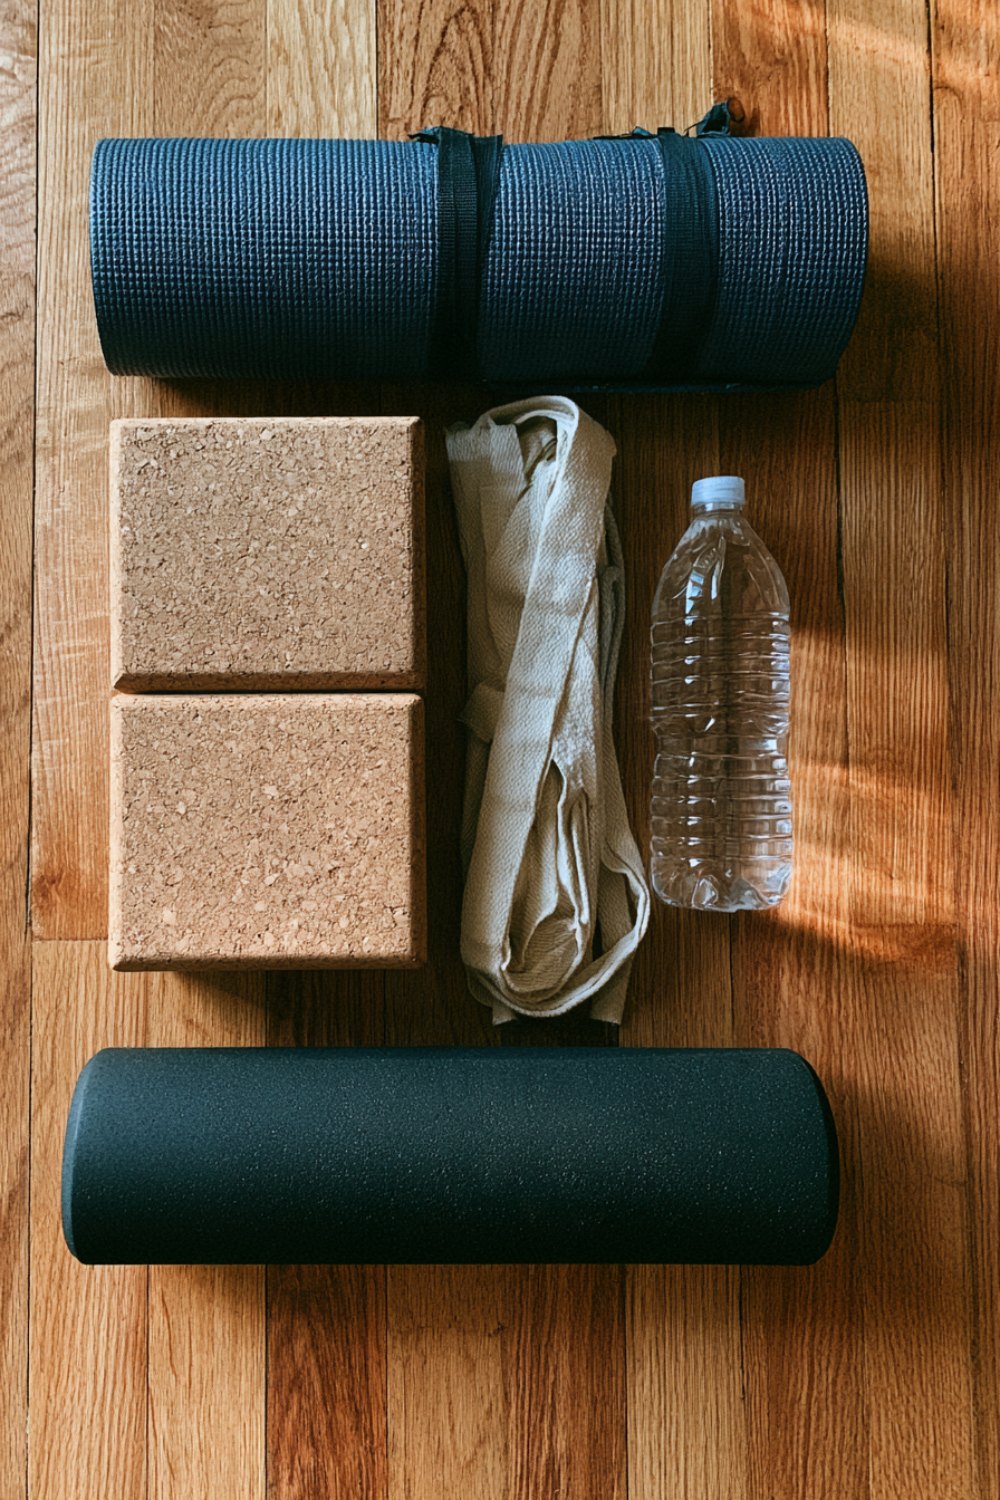
- Two yoga blocks (or sturdy books), a mat and a tape measure
- Socks or a towel under your feet on hard floors so they slide
- 5 minute warm-up before every session
- Holds of 30 to 45 seconds, 2 rounds, both sides, tighter side first
- Active work (leg lifts, horse stance) every session
- Hips square, no bouncing, tension not pain
- Block height or inches logged weekly, a photo every two weeks
Keep building your flexibility: work on leaps with our guide to how to jump higher, add strength with our 30 day workout challenge, and if you’re shopping for someone who lives in a split, browse our gifts for gymnasts and gifts for dancers.
Questions people ask
Should I work on front or middle splits first?
Most people find front splits come faster, so they’re a good first goal. You can train both in the same week by alternating days. If your middle split stalls for months despite steady work, your hip structure may be the limit, and that’s fine.
Is this routine good for gymnastics?
It covers the basics gymnasts use, especially the active leg lifts and square-hipped front splits. Young athletes in a gym program should follow their coach’s flexibility plan and treat this as extra practice only with their coach’s okay.
Can I do this splits stretching routine after a workout?
Yes, and it’s one of the best times, since your muscles are already warm. Skip it after a heavy leg day if your hamstrings or hips feel beat up, and come back the next day.
How do I measure progress if I don’t own blocks?
Use a tape measure from the floor to the base of your hips, or stack hardcover books and count them. The free printable has a column for inches so any method works.
Will it improve my full body flexibility?
It mainly targets the hips, hamstrings, groin and quads. For shoulders, chest and back, add a separate full body stretch two or three times a week.
How do I know if I’m pushing too hard?
Sharp, pinching or joint pain, pain behind the knee, or soreness that lasts into the next day all mean back off. A strong stretching sensation that fades soon after you come out of the stretch is the target. If pain persists, check in with a doctor or physical therapist.
Images in this article are AI-generated illustrations and original graphics created by SportsFable. They show training scenes, not real people, teams or events. The printable is an original SportsFable resource.
Related Post